How to start your Single-User MCP free trial and get your access token
Use this flow to start your CodeHealth™ MCP Server trial, receive your access token, and connect it to your MCP setup.
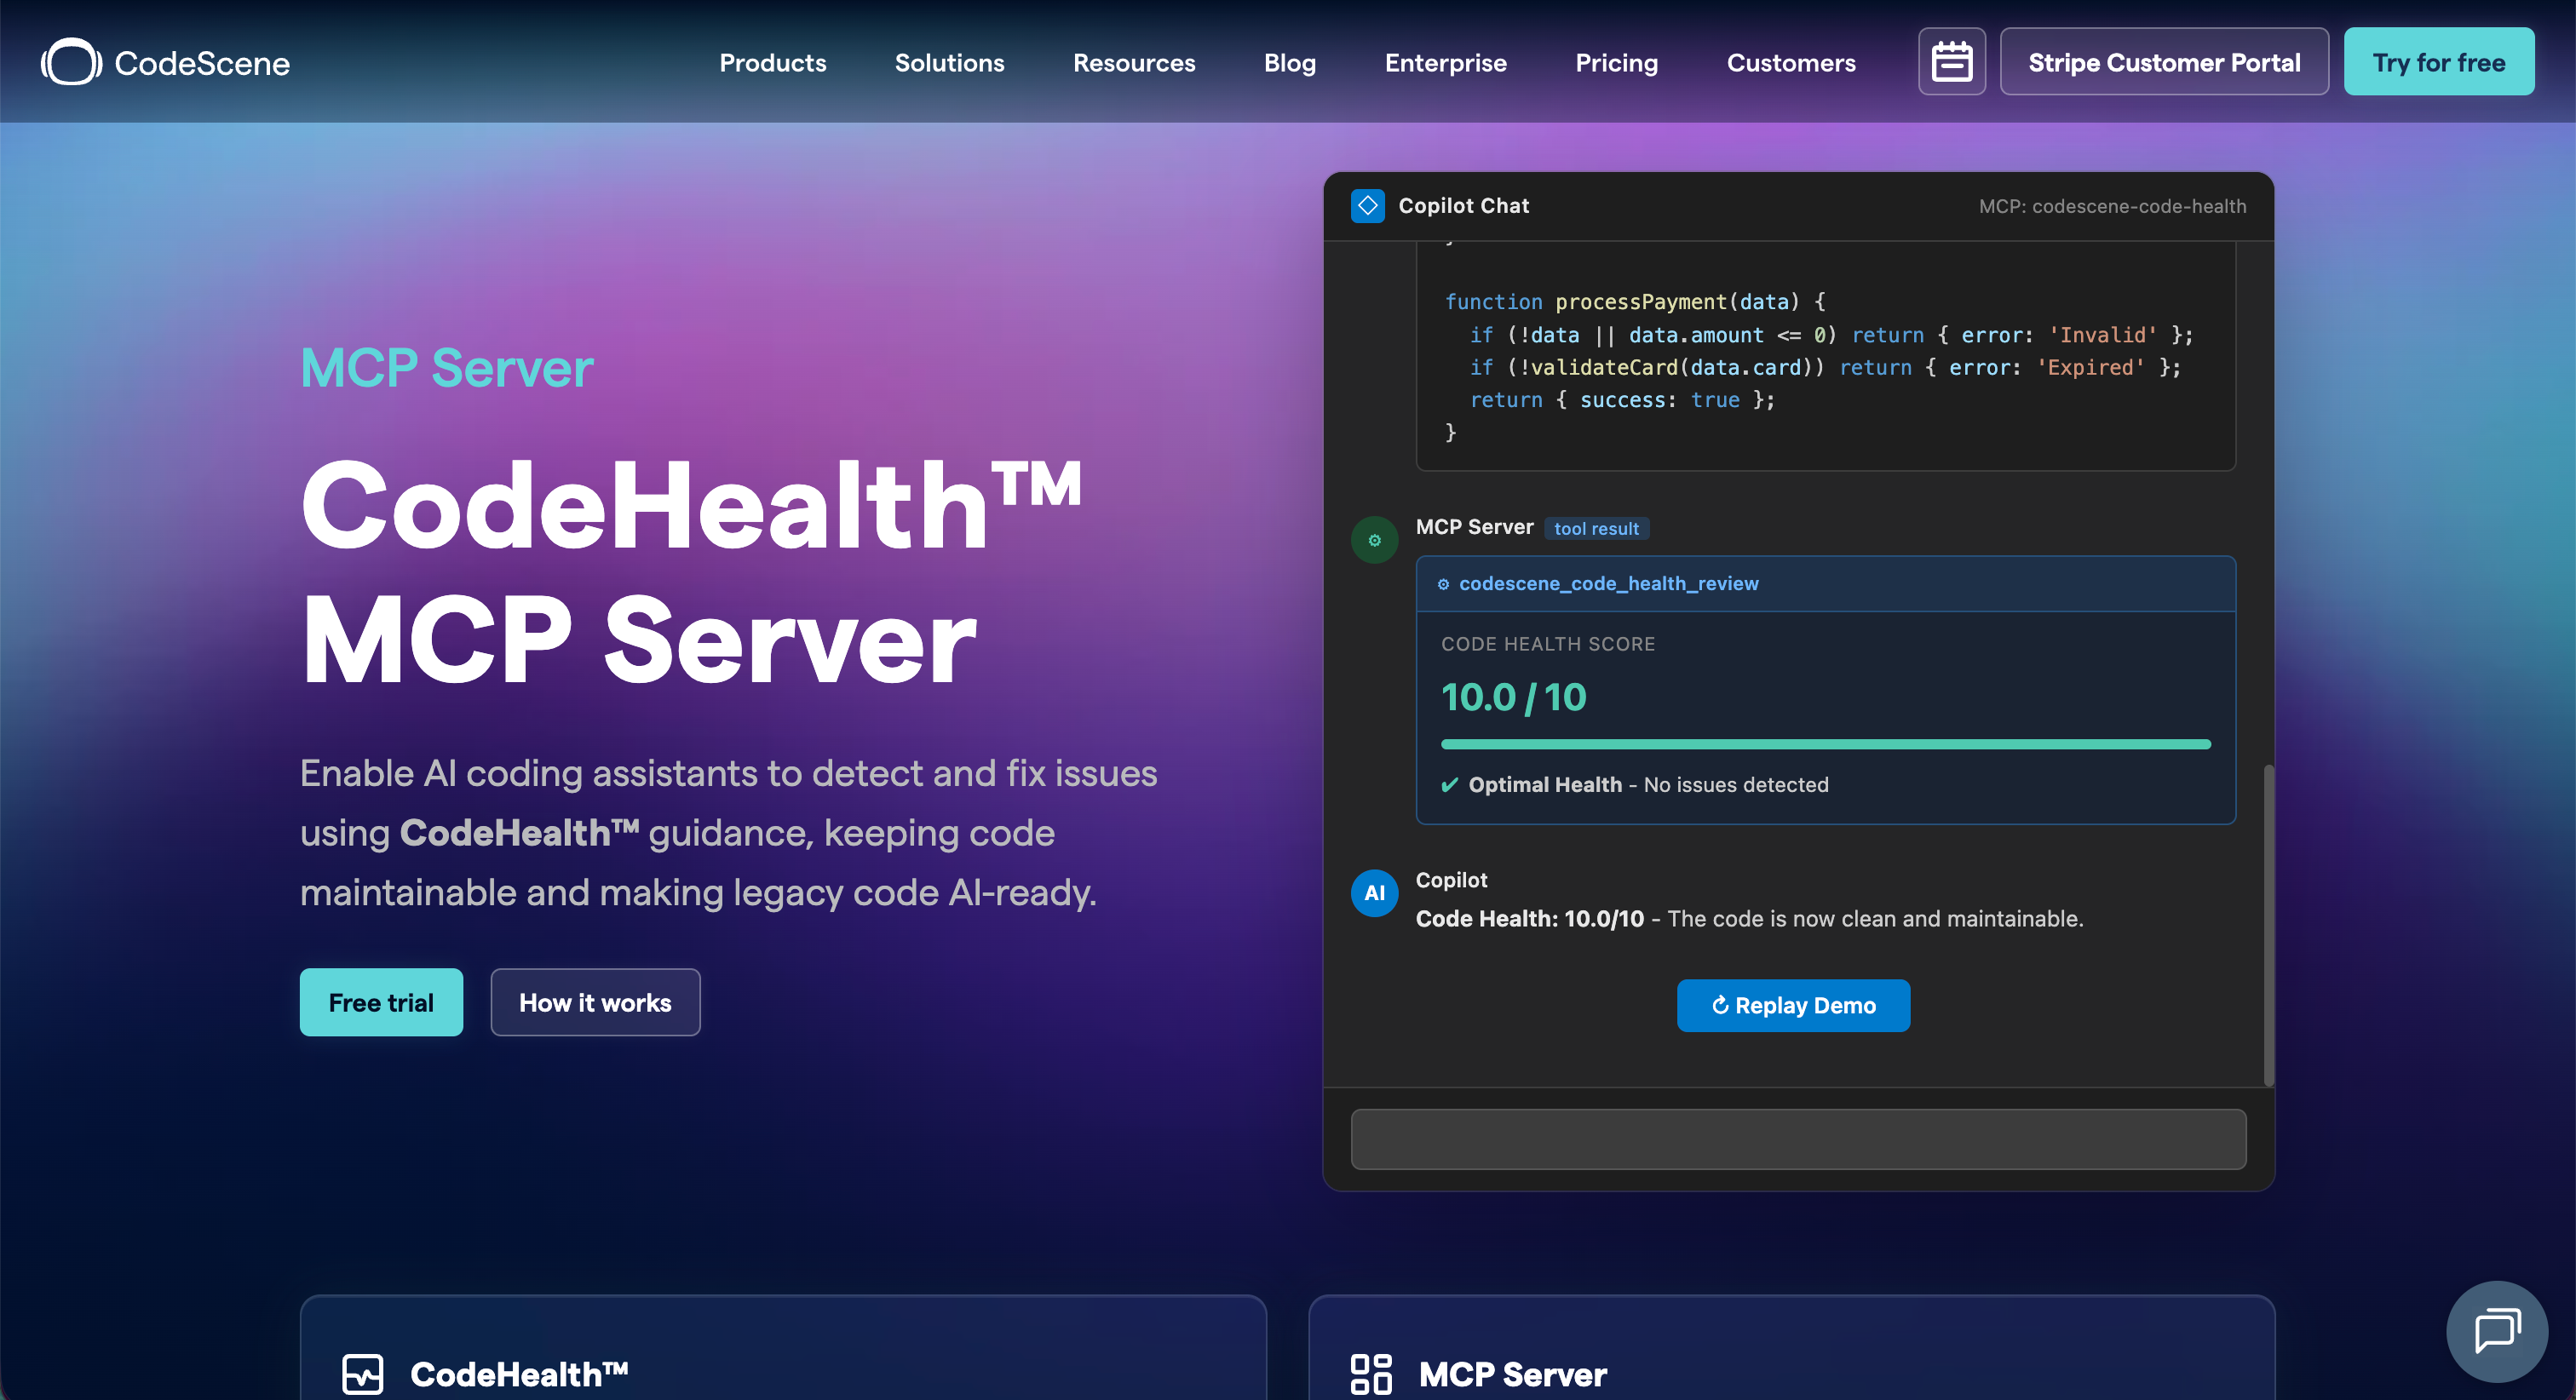
Step 1: Start from the CodeHealth™ MCP Server page
Navigate to → https://codescene.com/product/mcp-server
Click Try for free on the CodeHealth™ MCP Server page to begin the signup flow.
This takes you to the checkout page where you can start your free trial.
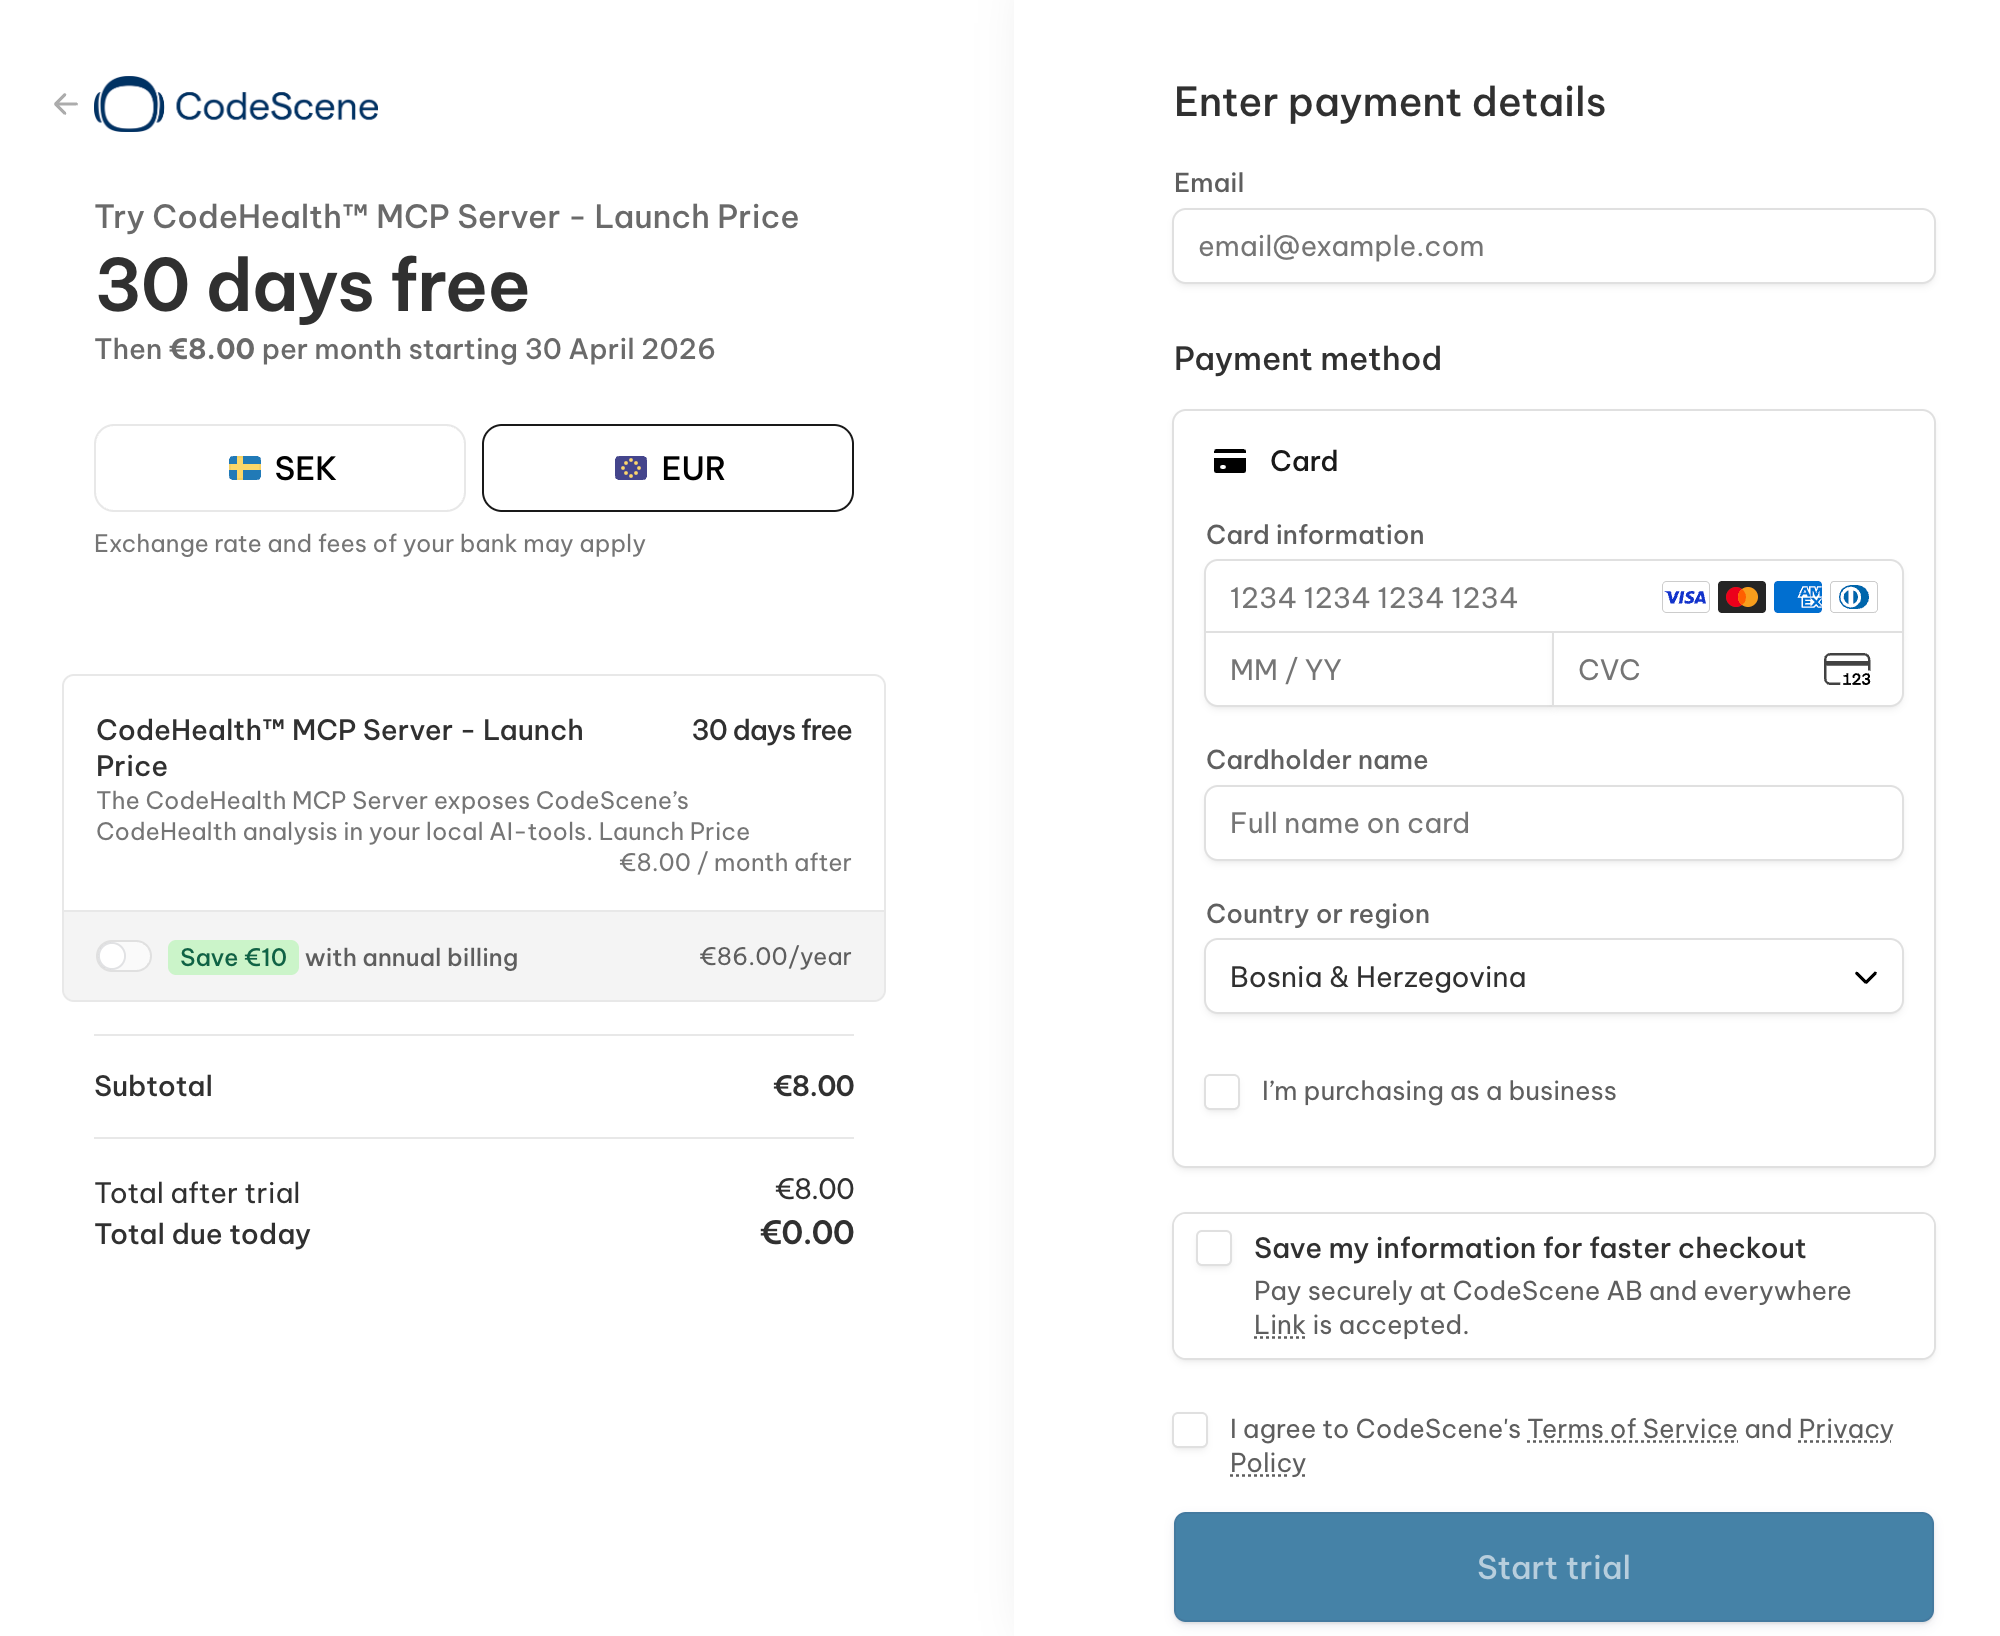
Step 2: Enter your details and start the trial
On the checkout page, enter your email address and payment details, then click Start trial.
Before you continue, you can review the trial length, pricing after the trial, and billing currency shown on the page.
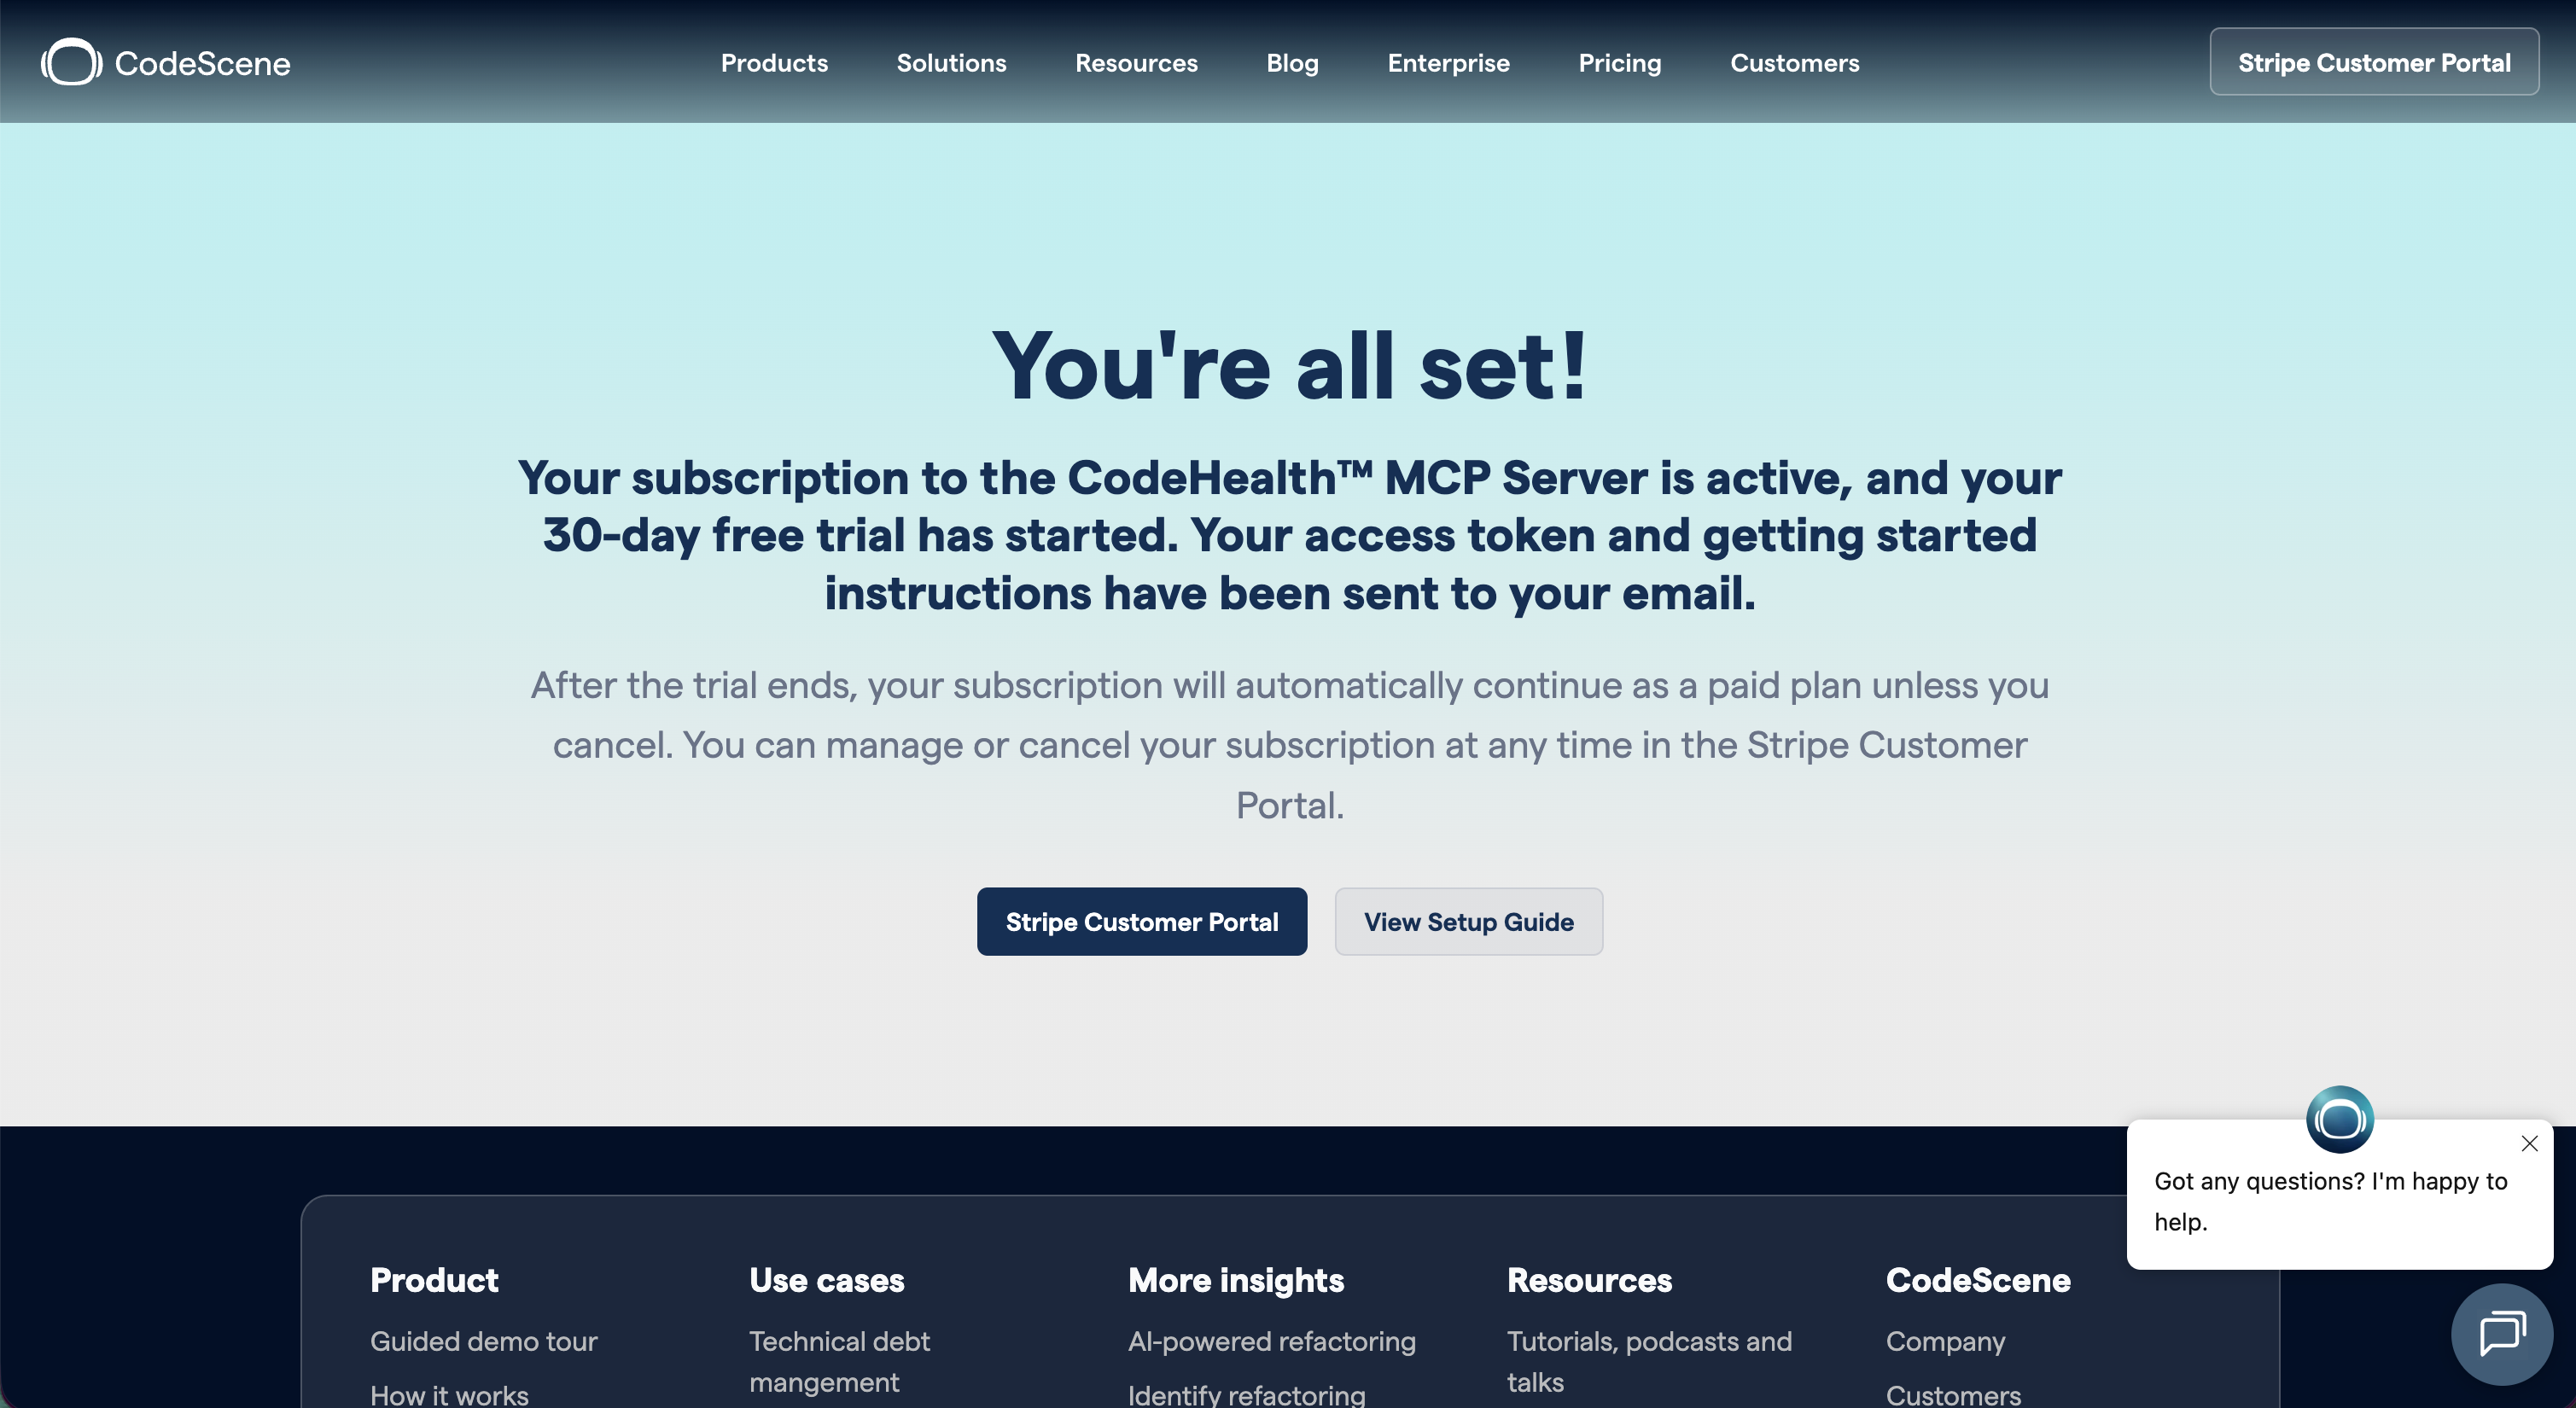
Step 3: Confirm that your trial is active
After signup, you’ll see a confirmation page letting you know that your subscription is active and that your access token and setup instructions have been sent to your email address.
This page also gives you quick access to the Stripe Customer Portal and the setup guide.
You can also open the Stripe Customer Portal directly here:
Customers outside the US: Open the Stripe Customer Portal
US customers: Open the Stripe Customer Portal
Step 4: Check your inbox for the access token email
After the trial is activated, you’ll receive a welcome email from CodeScene.
This email confirms that your subscription is active, includes your personal access token, and points you to the getting started instructions.
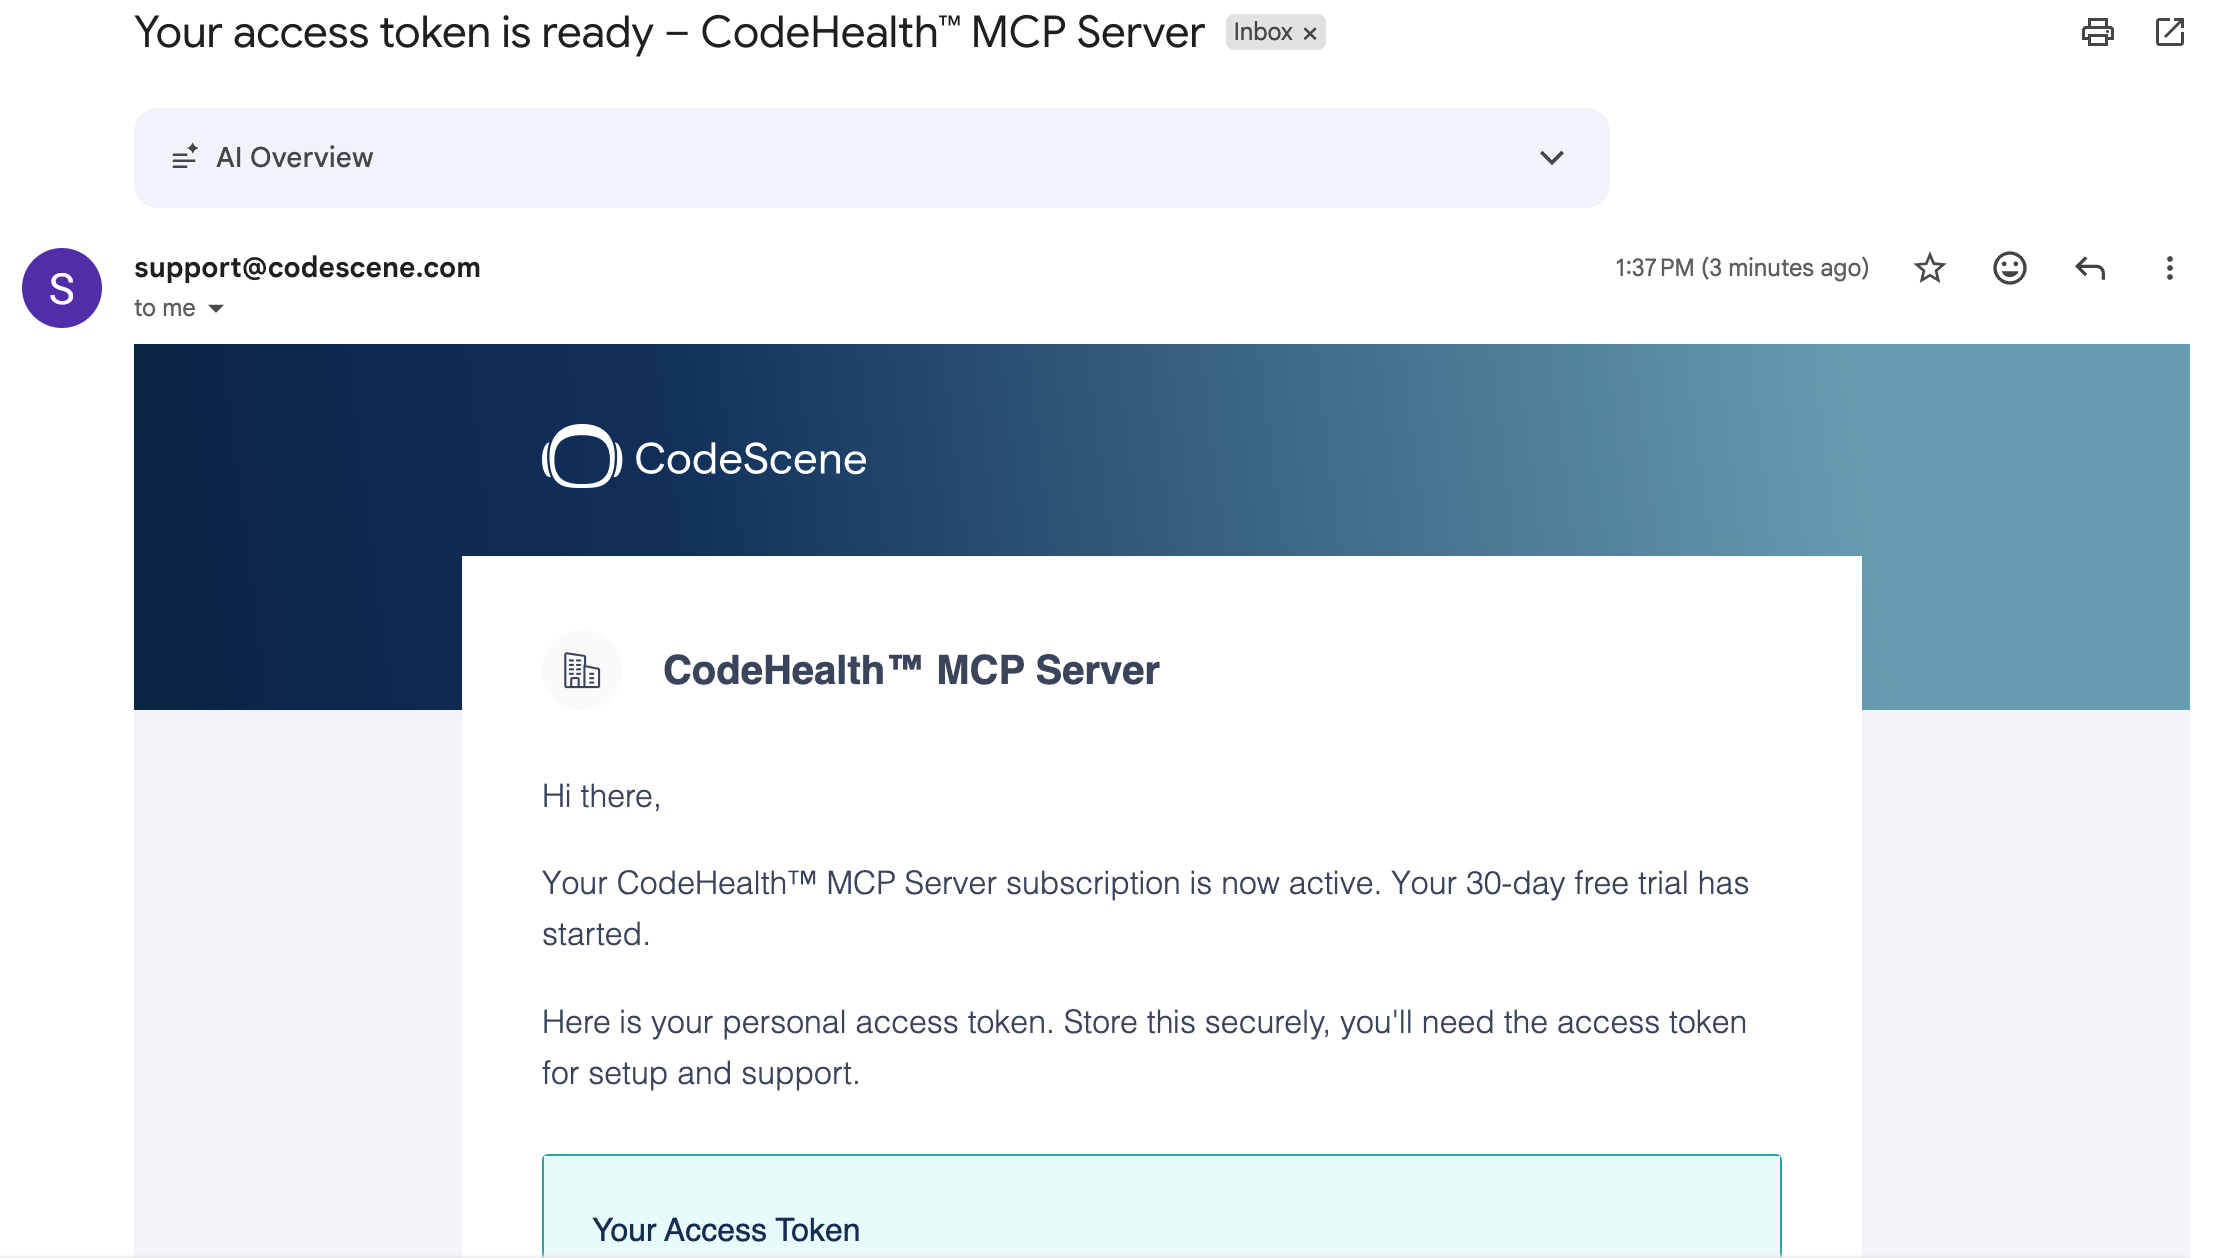
Step 5: Copy and store your access token securely
In the email, copy your personal access token and store it securely.
You’ll need this token when configuring the MCP Server, and it may also be needed later for support or token reset.
Step 6: Finish the setup
After adding the token, complete the rest of the setup by following the installation guide for your platform → https://github.com/codescene-oss/codescene-mcp-server/tree/main?tab=readme-ov-file#installation
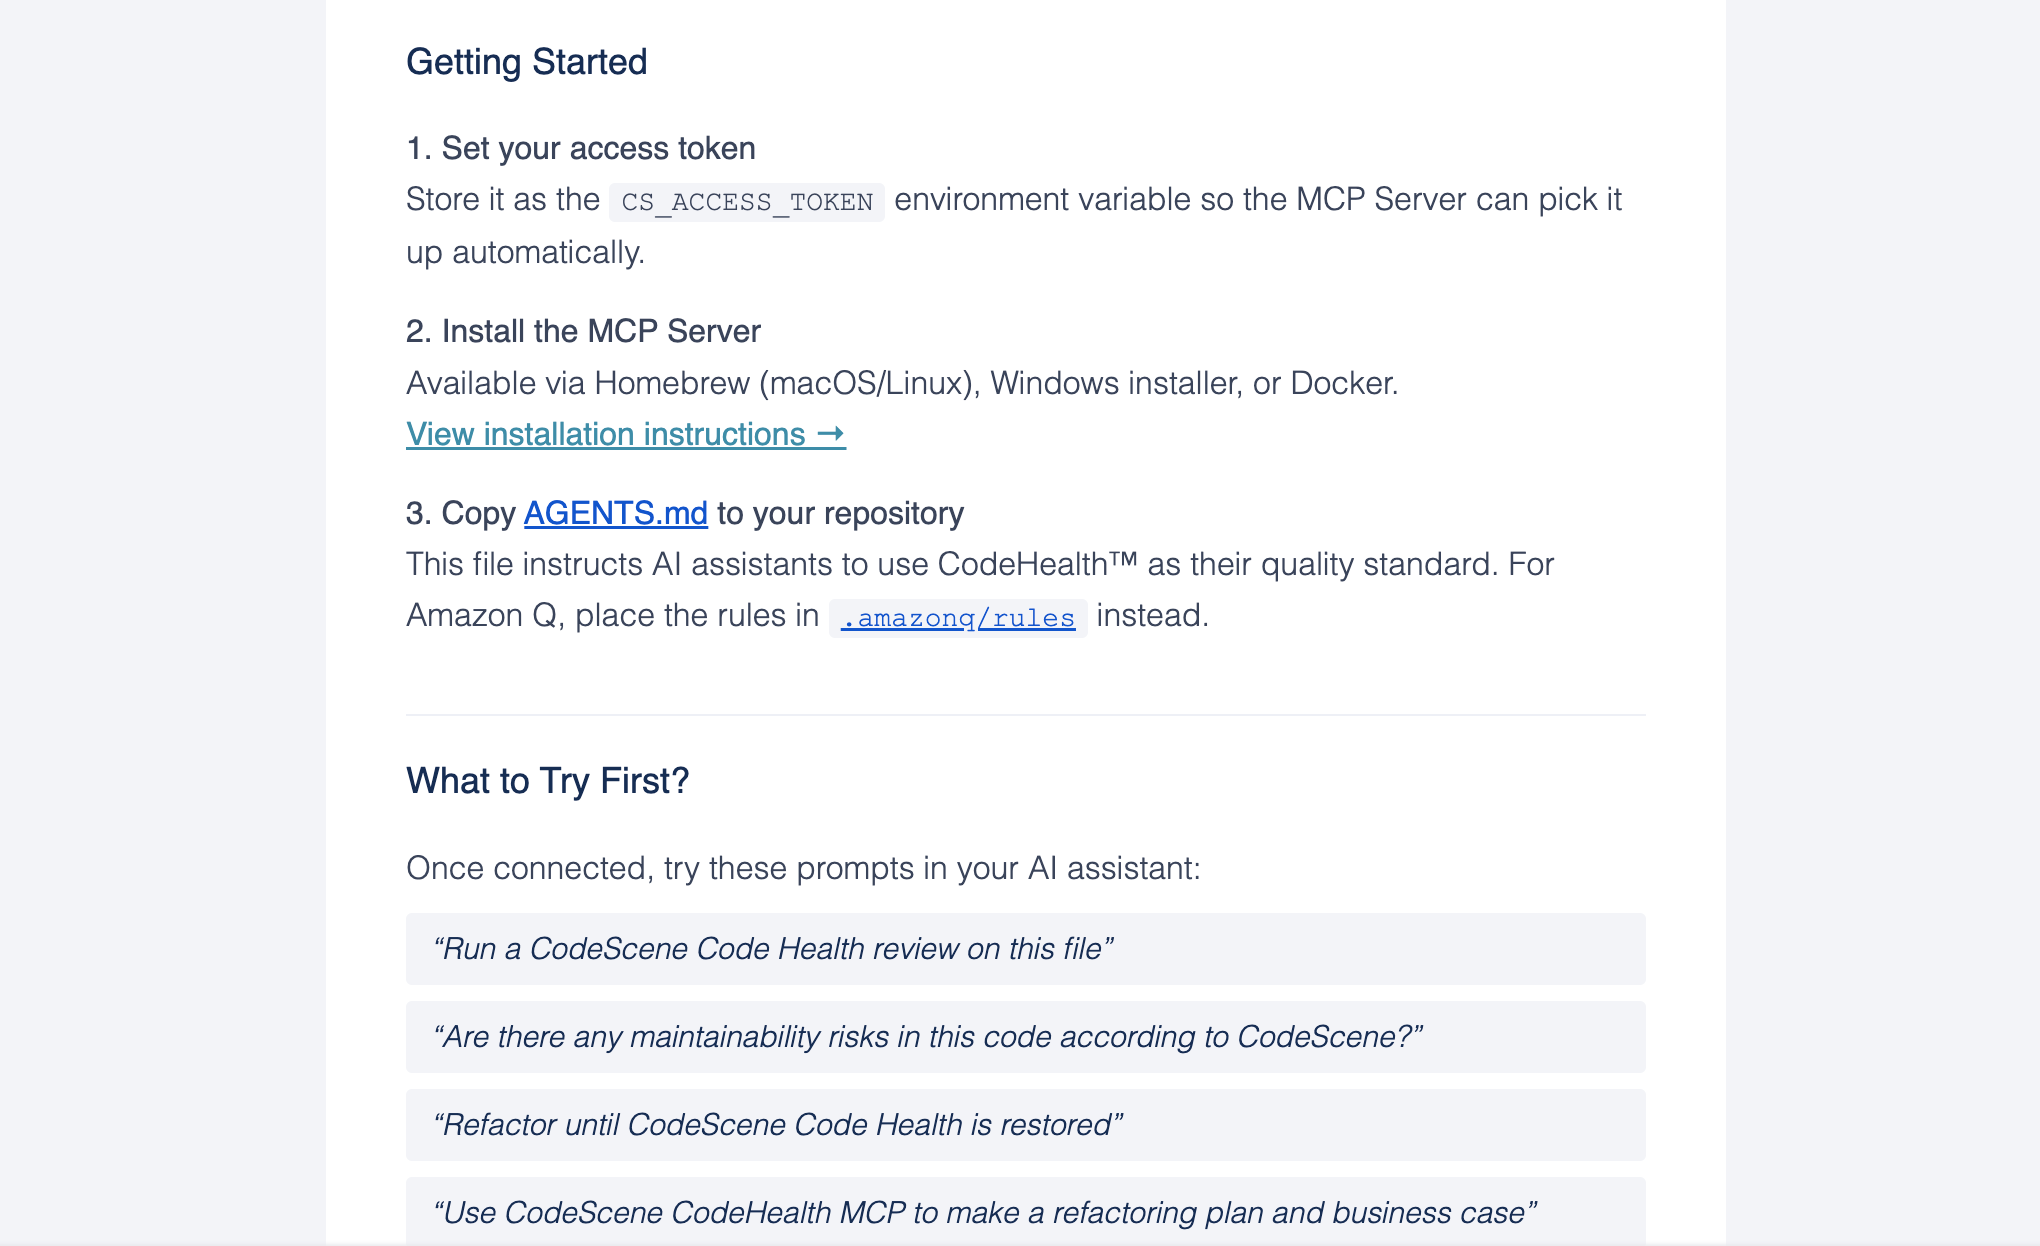
Then copy AGENTS.md into your repository so your AI assistant uses CodeHealth™ correctly. If you use Amazon Q, use .amazonq/rules instead.
Step 7: Add the token to your MCP setup
Set your token as CS_ACCESS_TOKEN in your MCP client configuration.
This is the token the MCP Server uses to authenticate and enable the standalone CodeHealth™ MCP workflow.
Example:
CS_ACCESS_TOKEN=<your access token>
If your MCP client uses a JSON-based MCP configuration, add the token under the server’s env section as CS_ACCESS_TOKEN.
Step 8: Try your first prompts
Once the MCP Server is connected, try these prompts from the official guidance:
“Run a CodeScene Code Health review on this file”
“Are there any maintainability risks in this code according to CodeScene?”
“Refactor until Code Health is restored using CodeScene MCP”
“Use CodeScene MCP to make a refactoring plan and business case”
“Important: When testing prompts, explicitly mentioning CodeScene helps your AI assistant recognize that it should use the CodeScene MCP Server.”
These are a good way to verify that your token is set correctly and that the MCP Server is working in your AI assistant.
Good to know
After the free trial ends, the subscription continues automatically as a paid plan unless you cancel it.
You can manage your subscription, update payment details, or cancel at any time through the Stripe Customer Portal:
Outside the US: Open the Stripe Customer Portal
US customers: Open the Stripe Customer Portal